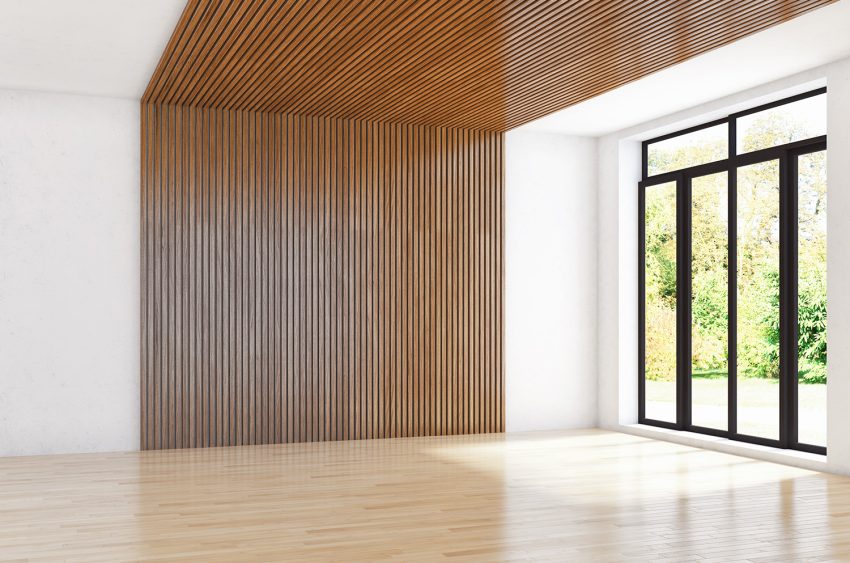
Wall panel installation has become a popular choice for enhancing interior spaces with style and functionality. Whether you’re a homeowner looking to refresh your living room or a professional contractor working on a commercial project, mastering wall panel installation can transform any space. In this guide, we will walk you through everything you need to know about installing wood slat panels efficiently and effectively. This article will ensure you have a comprehensive understanding of wall panel installation from start to finish.
Why Choose Wall Panel Installation?
Wall panel installation offers numerous benefits that make it an appealing option for interior design:
- Aesthetic Appeal: Wood slat panels add texture, depth, and warmth to any room, creating a modern yet timeless look.
- Durability: Wood panels are sturdy and long-lasting, making them ideal for both residential and commercial settings.
- Acoustic Benefits: Proper wall panel installation can improve room acoustics by reducing echo and noise levels.
- Easy Maintenance: Wood panels are relatively easy to clean and maintain compared to painted walls or wallpaper.
Understanding these advantages helps explain why wall panel installation is growing in popularity.
Preparing for Wall Panel Installation
Proper preparation is crucial for a smooth wall panel installation process. This phase includes planning, measuring, and gathering materials.
Measuring Your Space
Accurate measurements ensure you purchase the correct amount of wood slat panels and minimize waste. Measure the height and width of the wall where the panels will be installed, then calculate the total square footage.
Choosing the Right Panels
Wood slat panels come in various types of wood, finishes, and sizes. Consider the style and function you want to achieve. For example, natural oak slats provide a rustic feel, while painted MDF slats offer a modern aesthetic.
Tools and Materials Needed
- Wood slat panels
- Measuring tape
- Level
- Adhesive or nails/screws
- Drill or hammer
- Stud finder
- Saw (if trimming panels)
- Safety gear (gloves, goggles)
Having all tools and materials ready before starting wall panel installation saves time and prevents interruptions.
Step-by-Step Wall Panel Installation Process
Follow these detailed steps to achieve a professional wall panel installation:
Step 1: Prepare the Wall Surface
Ensure the wall surface is clean, dry, and free from dust or grease. If the wall has any holes or imperfections, repair them to create a smooth base for the panels.
Step 2: Locate and Mark Studs
Use a stud finder to locate studs behind the drywall. Mark their positions with a pencil. Attaching panels to studs provides stronger support during wall panel installation.
Step 3: Plan Panel Layout
Before fixing the panels, lay them out on the floor or against the wall to determine the best arrangement. This helps avoid awkward cuts and ensures an even pattern.
Step 4: Cut Panels to Size
If needed, use a saw to trim wood slat panels to fit around outlets, switches, or edges. Precise cuts contribute to a neat, professional finish.
Step 5: Attach Panels to the Wall
Depending on the wall panel installation method chosen, use adhesive or nails/screws to secure the panels. When using nails or screws, attach panels to the marked studs for maximum stability.
Step 6: Finish Edges and Seams
After all panels are installed, fill any gaps or seams with wood filler or caulk. Sand smooth and apply paint or stain as desired to complete the look.
Tips for Successful Wall Panel Installation
- Always double-check measurements before cutting or attaching panels.
- Use a level frequently to maintain straight lines throughout installation.
- Work slowly and carefully, especially when handling delicate wood slats.
- Consider professional help for large or complex projects.
Common Challenges and How to Overcome Them
Uneven Walls
Many walls are not perfectly flat, which can complicate wall panel installation. Use shims or mounting strips to even out the surface before fixing panels.
Dealing with Corners
Corners require special attention during wall panel installation. Mitered cuts or corner trim pieces can create clean, professional edges.
Panel Warping
Wood slat panels can warp if exposed to moisture or extreme temperature changes. Store panels in a dry environment and acclimate them before installation.
Maintenance After Wall Panel Installation
Proper maintenance ensures your wood slat panels remain beautiful and functional for years:
- Dust panels regularly with a soft cloth.
- Avoid excessive moisture or water contact.
- Refinish or reseal panels as needed to protect the wood.
- Inspect for any loose panels or damage and repair promptly.
Conclusion
Wall panel installation is an excellent way to elevate the style and functionality of any space. By understanding the benefits, preparing carefully, and following the step-by-step installation process, you can achieve stunning results with wood slat panels. Whether for a cozy home environment or a sleek commercial setting, mastering wall panel installation will add lasting value and beauty. At Slat Solution, we are committed to providing you with the best advice and solutions for your wall panel installation needs. Remember, thorough planning and attention to detail are the keys to success in any wall panel installation project.
